
20 Minute Labs: Colorful 3D Ice Maps
USE ICE AND SALT TO CREATE BEAUTIFUL 3D MAPS
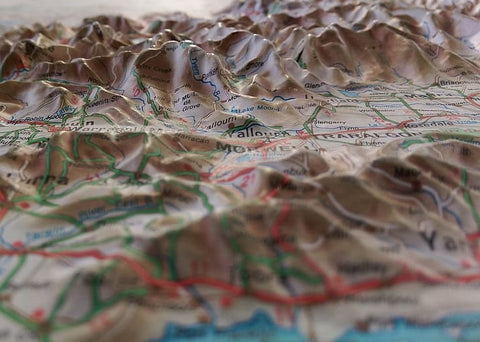 Have you ever seen a raised-relief map? You may have seen these 3D map models at a museum, government office, or even on globes or framed pictures.
These sorts of maps help show what different regions of land look like - where there are hills, mountains, streams or lakes. They are a model of an area that shows which regions are raised up, which you can see and feel with your hands!
 In this month's 20 Minute Lab, you can make your own raised relief maps of an imaginary place by using salt and ice! All you need are a few items from around the house.
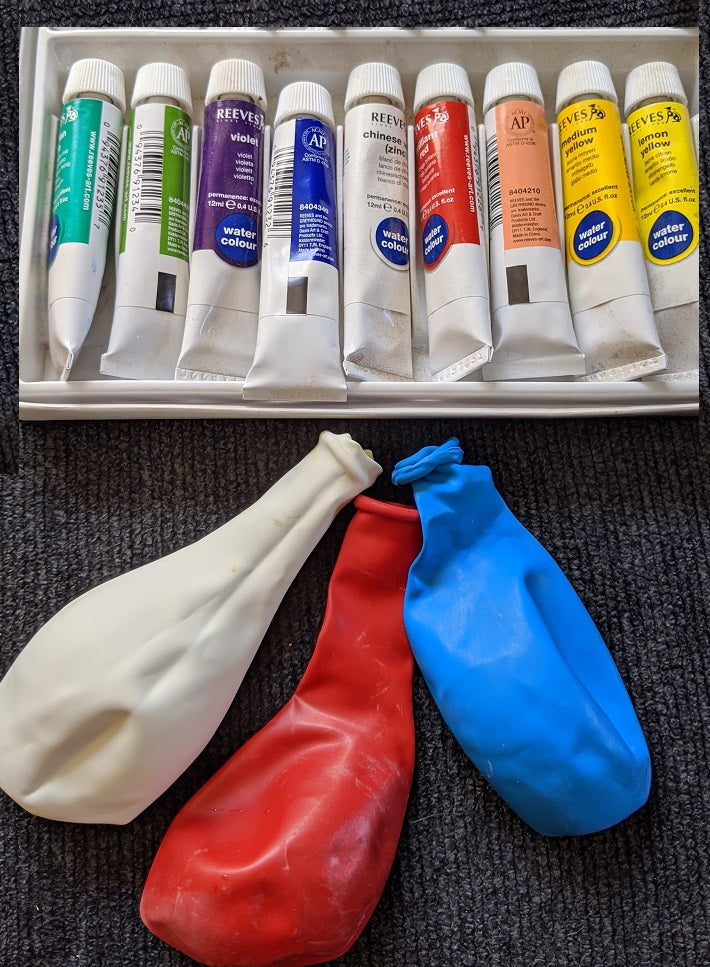
There are a lot of different ways of doing this experiment, you can use plastic containers or balloons to make the frozen ice pieces, you can use food coloring or liquid watercolors, you can use one dropper or five... So feel free to get creative or try them all!
NOTE: The lab itself takes about 20 minutes of hands-on time, but you will need to freeze the water in advance.
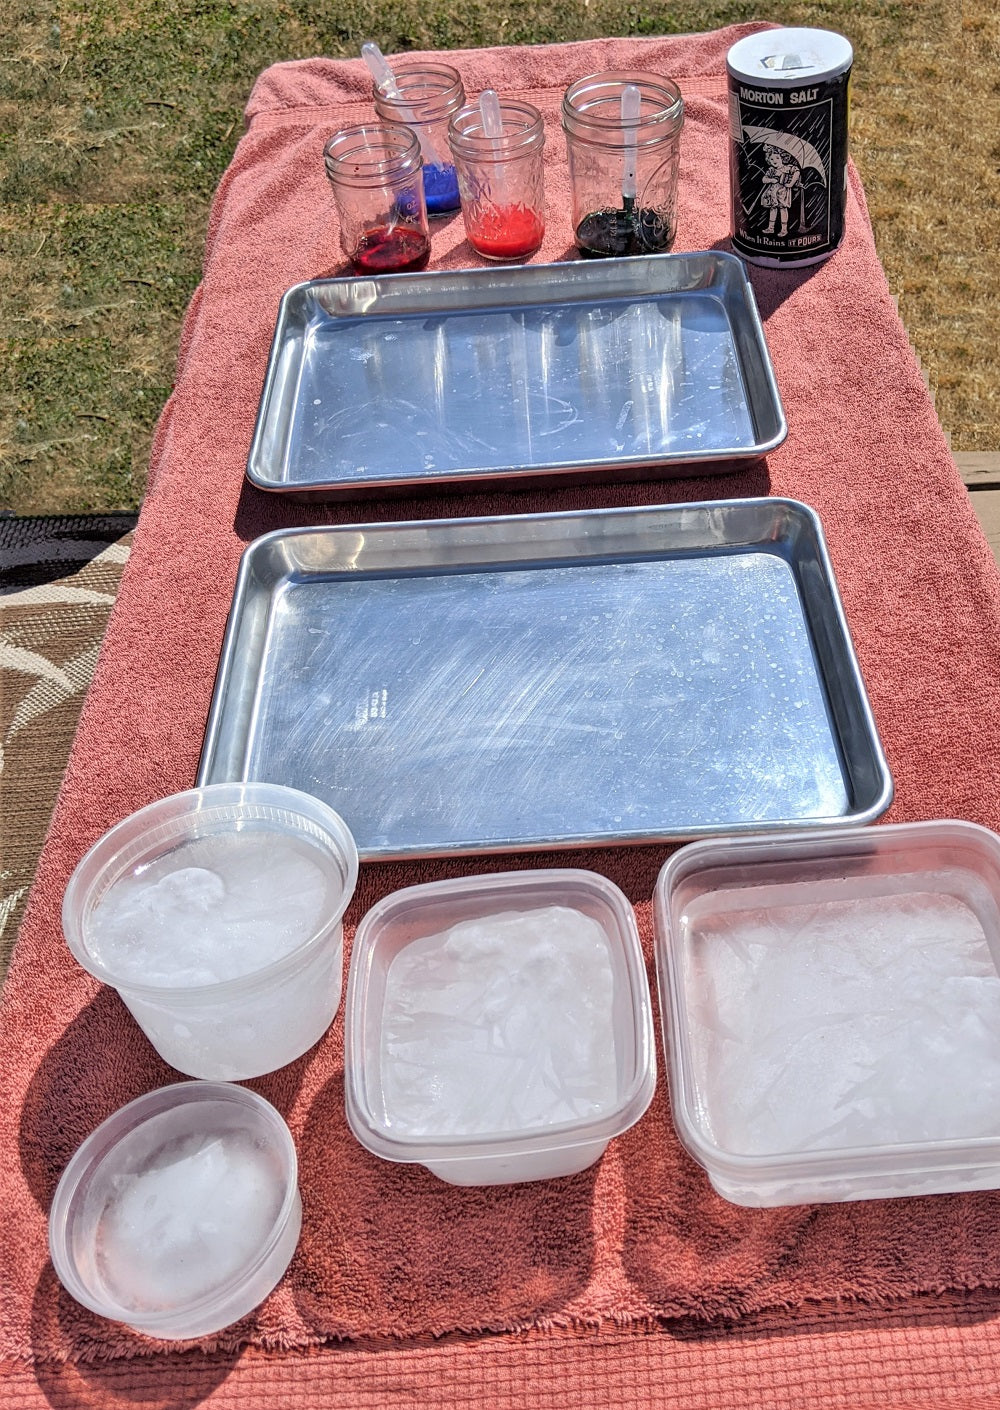
WHAT YOU'LL NEED
-
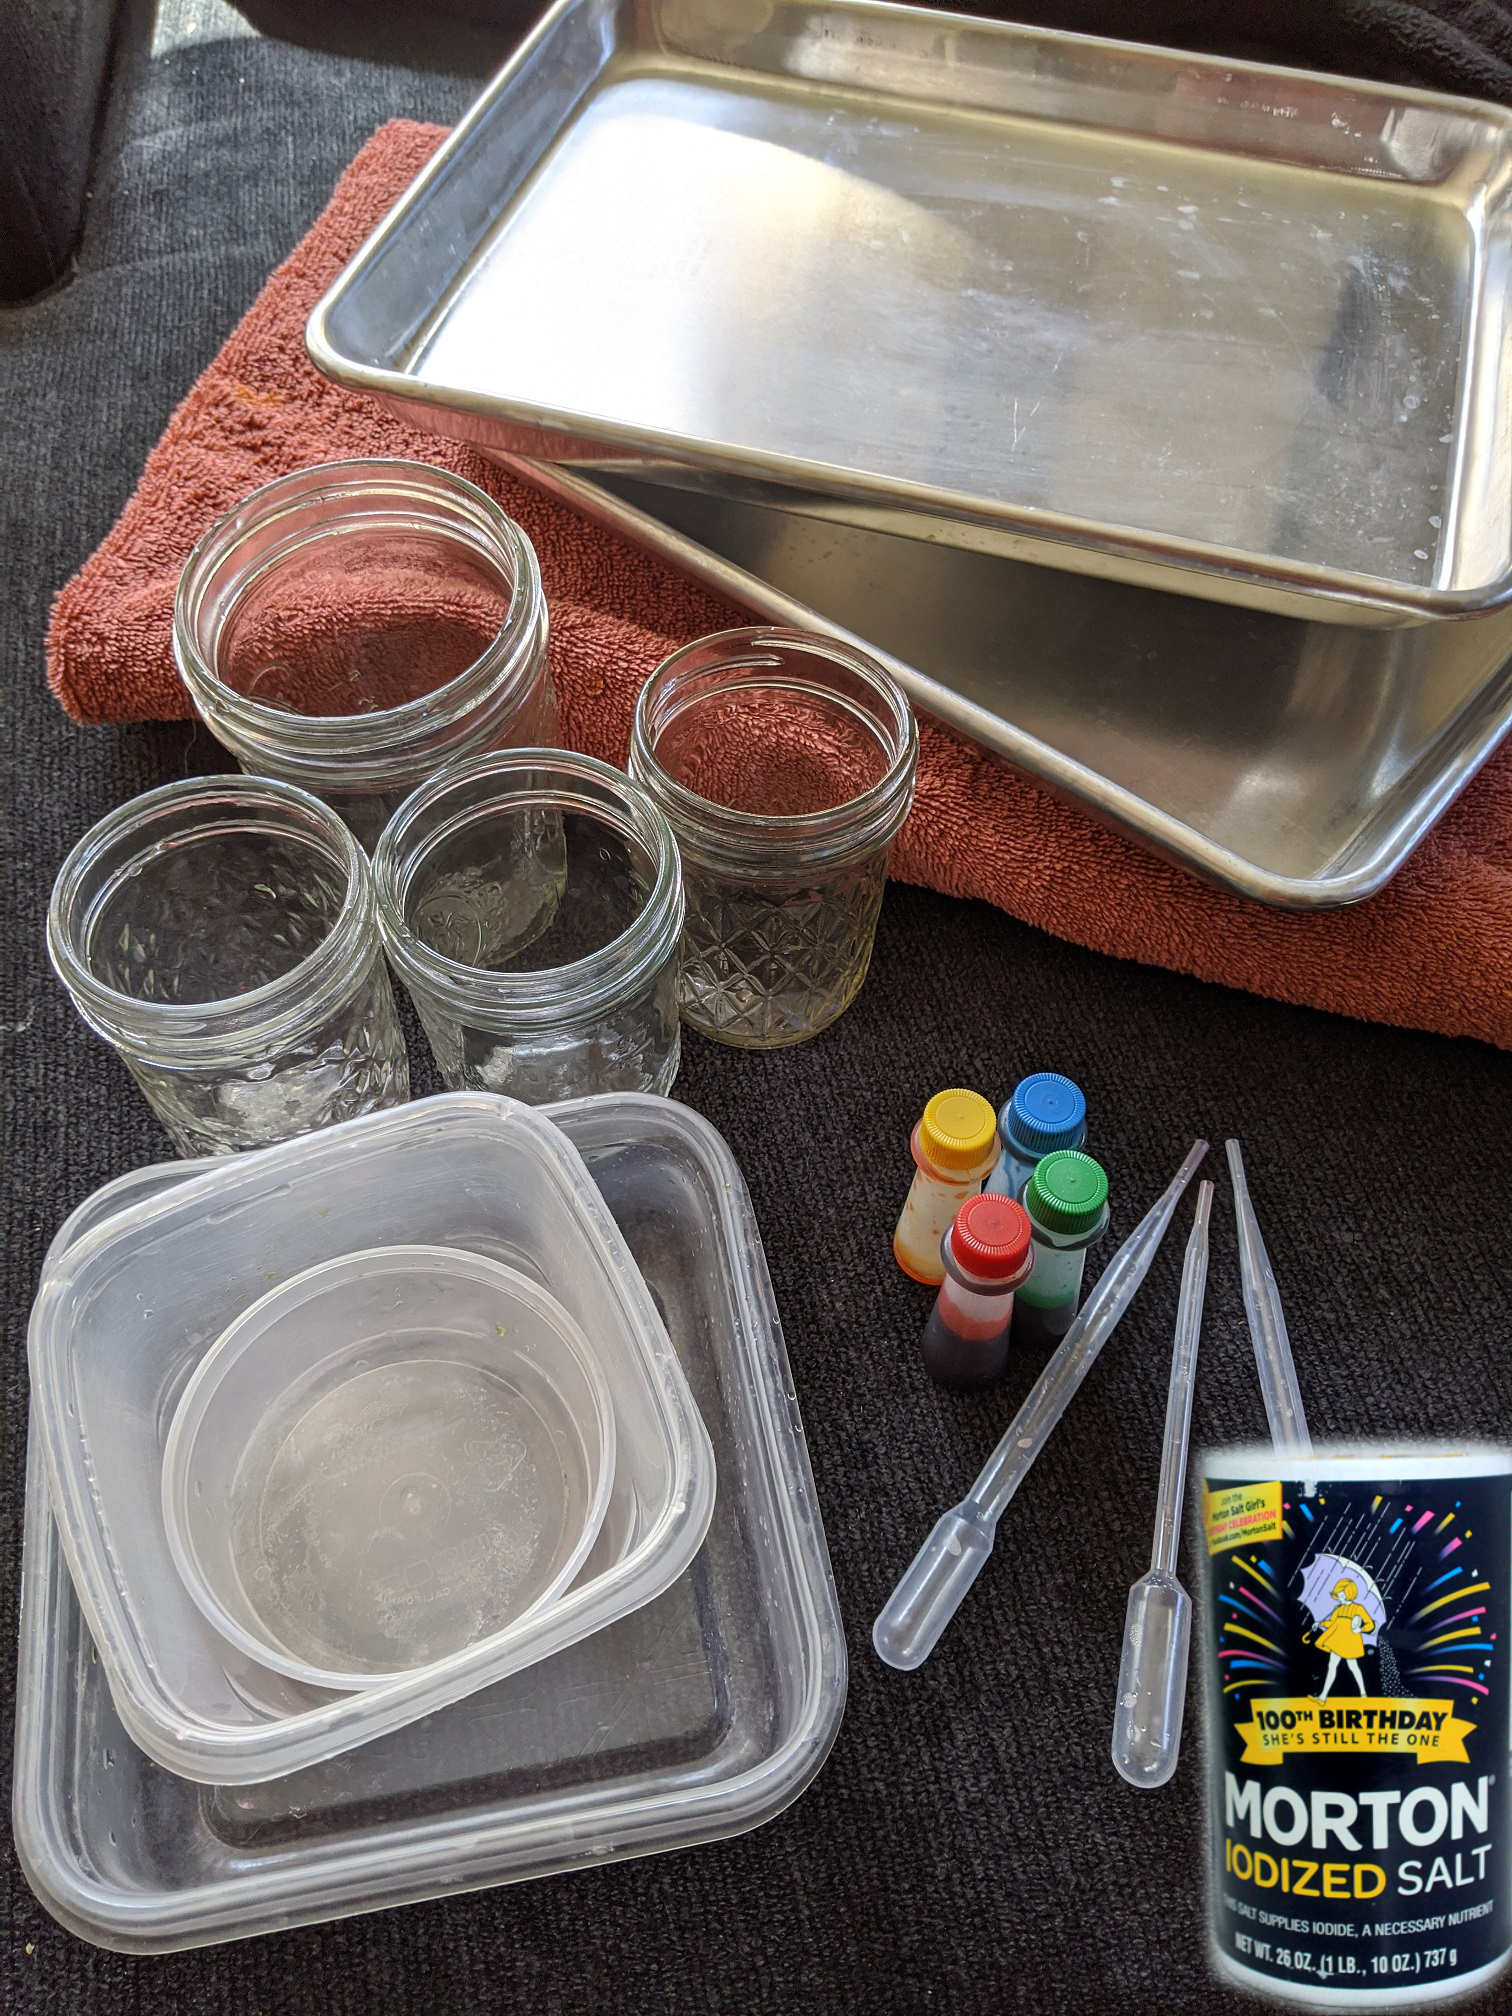 several shallow containers of different sizes (or balloons!)
 - tray with edges (we used baking sheets)
- small jars, one for each color
- food coloring (or liquid watercolors)
- dropper or pipette (one will do, but you can use one per color too!)
- salt
- optional: towel to put under the trays for extra water spill protection
- optional: turkey baster and bowl to draw out excess melted water (we just poured ours out periodically, as we worked outside)
 several shallow containers of different sizes (or balloons!)
-
 Fill your different sized containers (or balloons) with water and put them in the freezer until the water is frozen all the way through.
 - Lay the towel on your work surface (if using); place the tray on top.
- Add water with food coloring (or liquid watercolors) to the jars (one color per jar.)
- Pop the frozen water out of the containers. (You can run warm water on the outside to loosen.) Place the ice on the tray. If using frozen water balloons, place them on your tray and remove the balloon casing with scissors.
- Experiment to see the effect of different amounts of salt on different ice pieces:
 Fill your different sized containers (or balloons) with water and put them in the freezer until the water is frozen all the way through.
-
 Leave one of your ice pieces salt-free.
 - Sprinkle salt onto the other ice shapes.
- Vary the amount of salt you use on each piece (but avoid applying big piles of salt.) Using your fingers to pinch salt from a container helps with this.
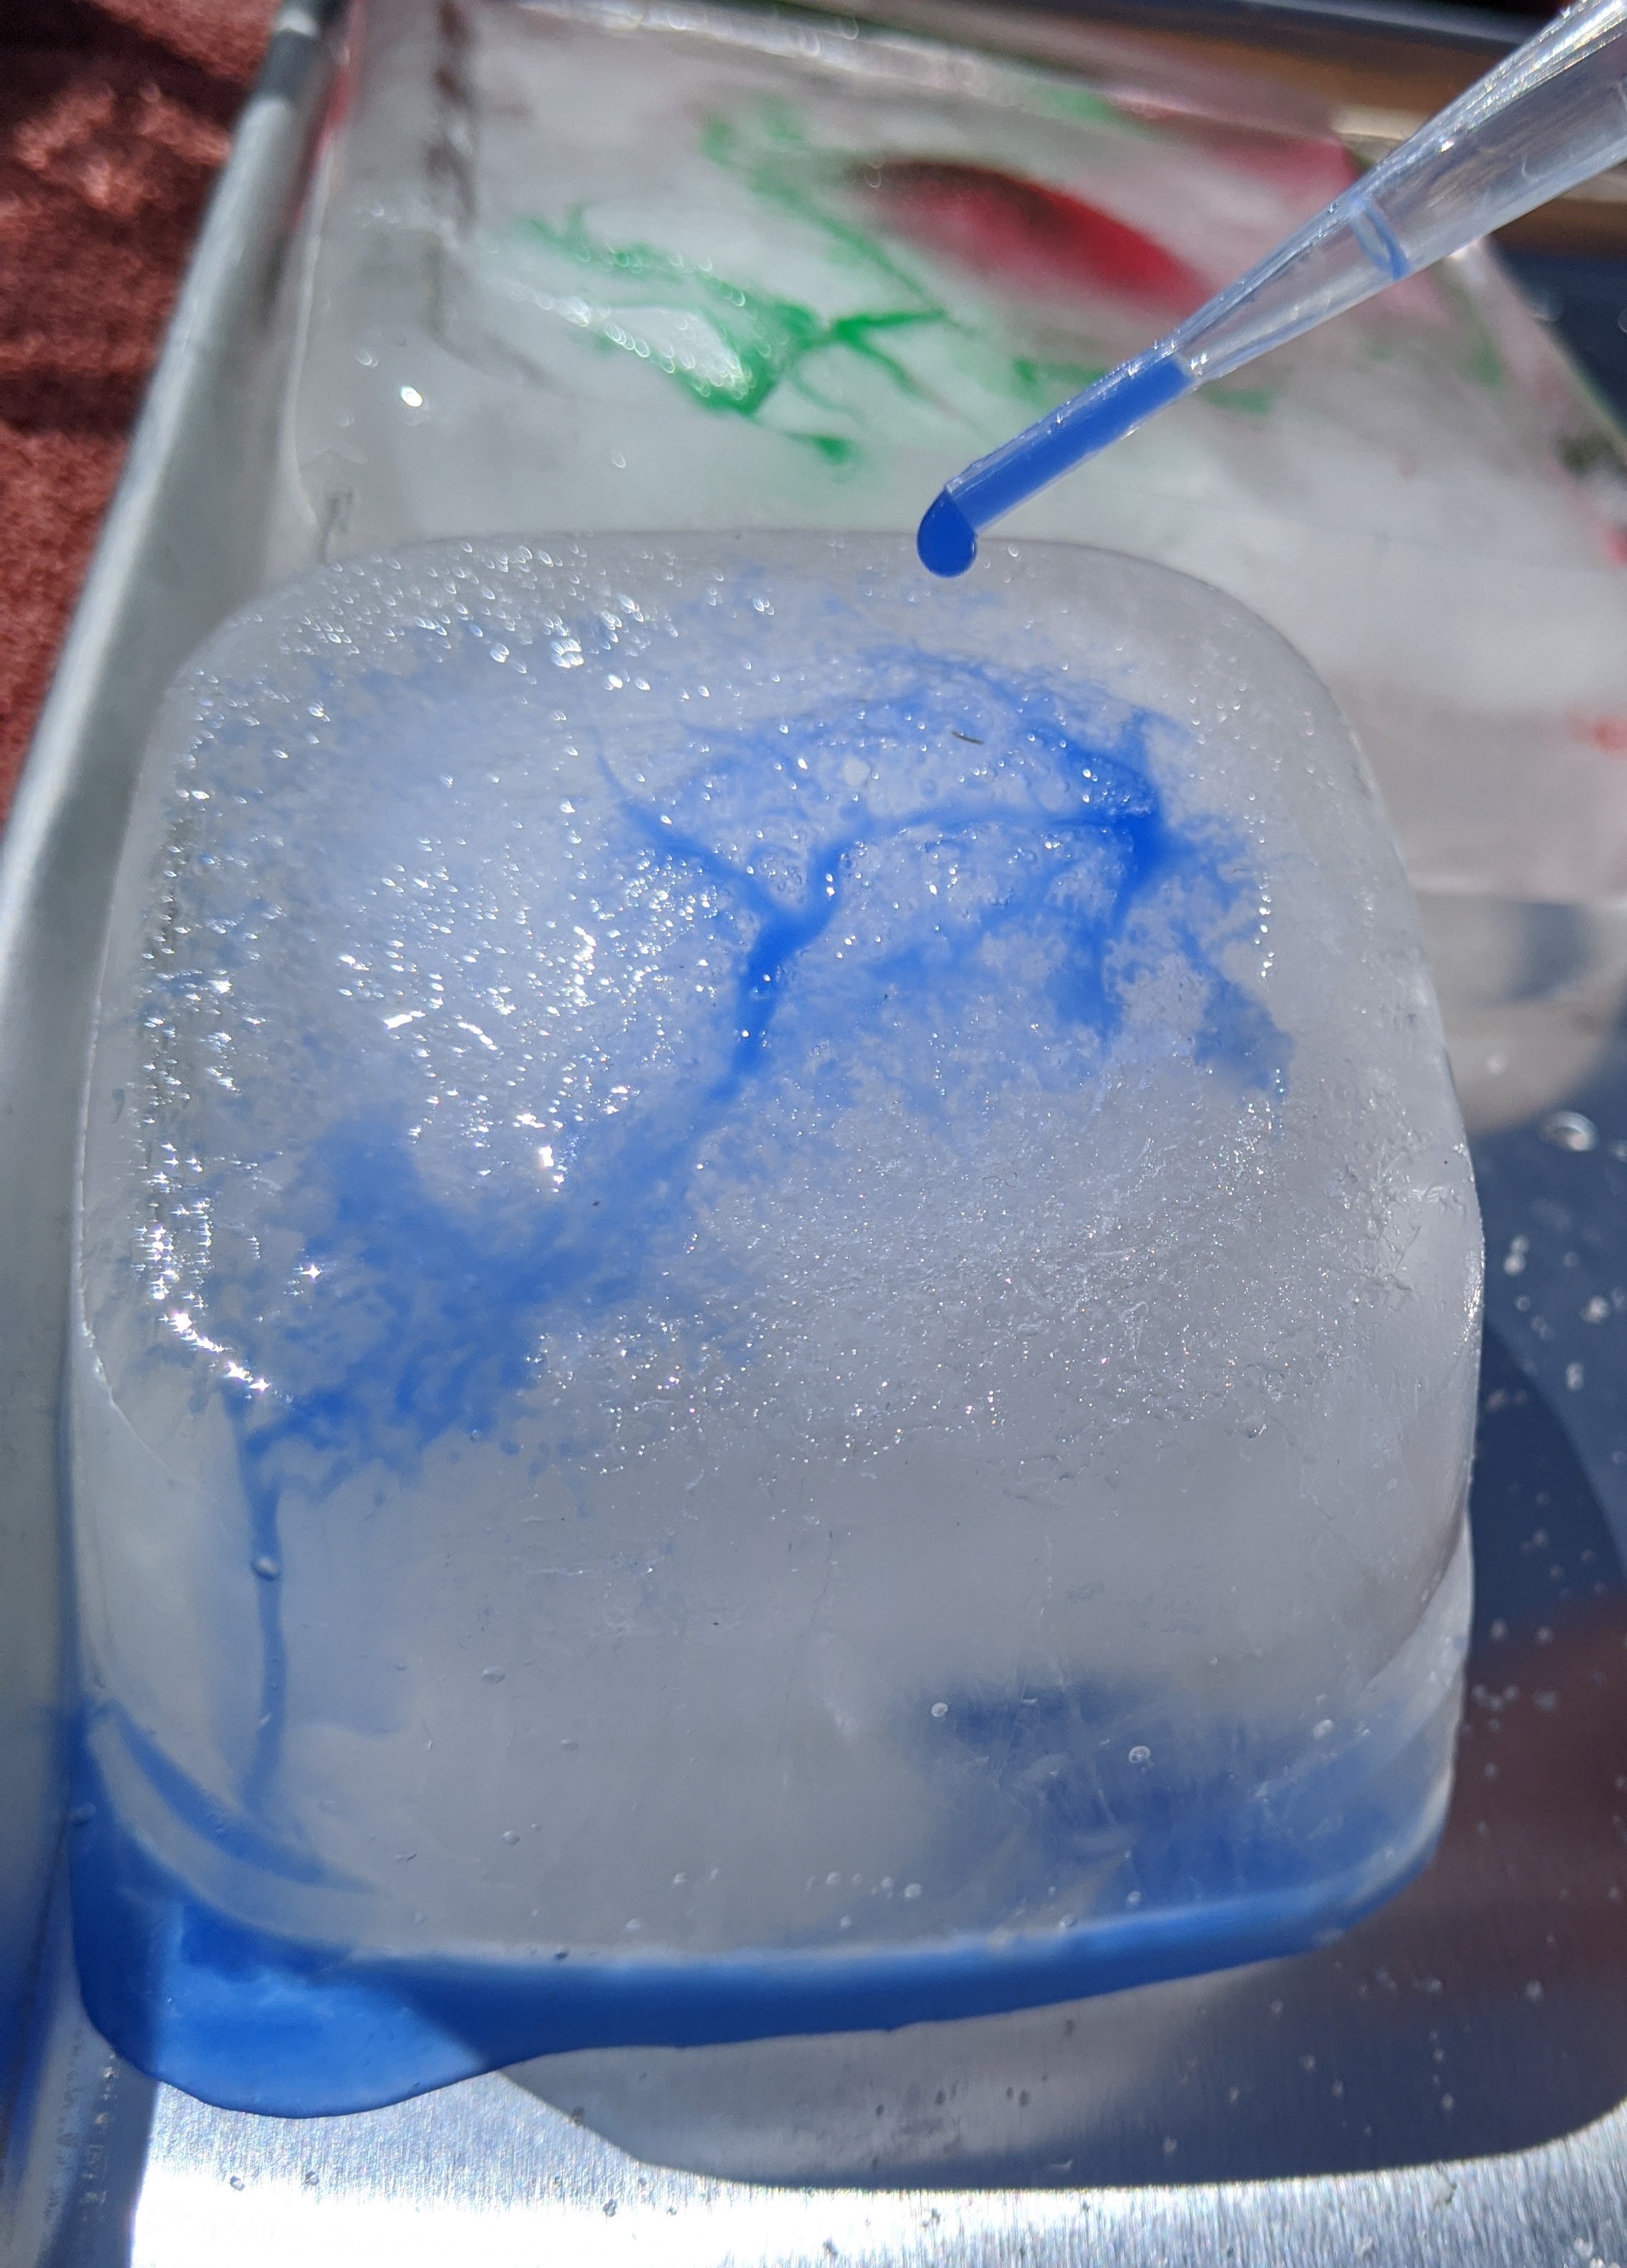
- Use your dropper to squirt colored water onto all of the ice pieces, including the one without salt.
- Continue to add colored water to get an effect you like. You can even flip over the ice pieces and start again on the other side!
- You can push the different ice pieces together to create a master 3D map!
 Leave one of your ice pieces salt-free.
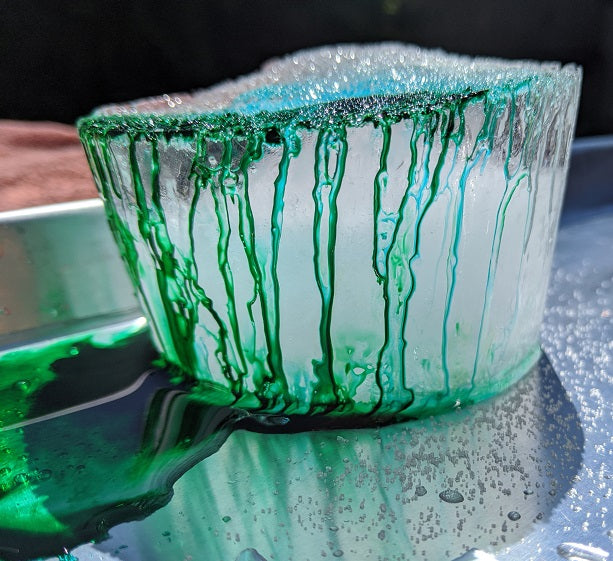

WHAT'S GOING ON?
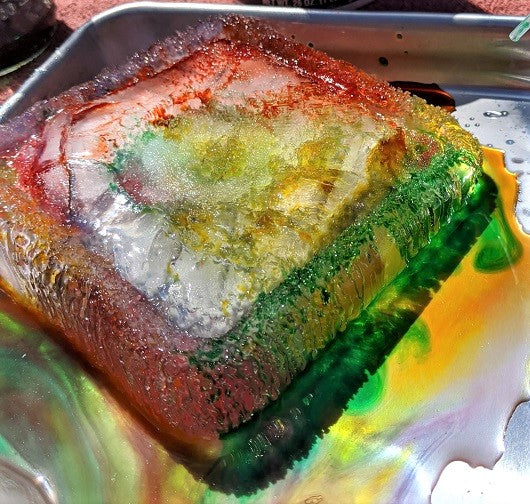
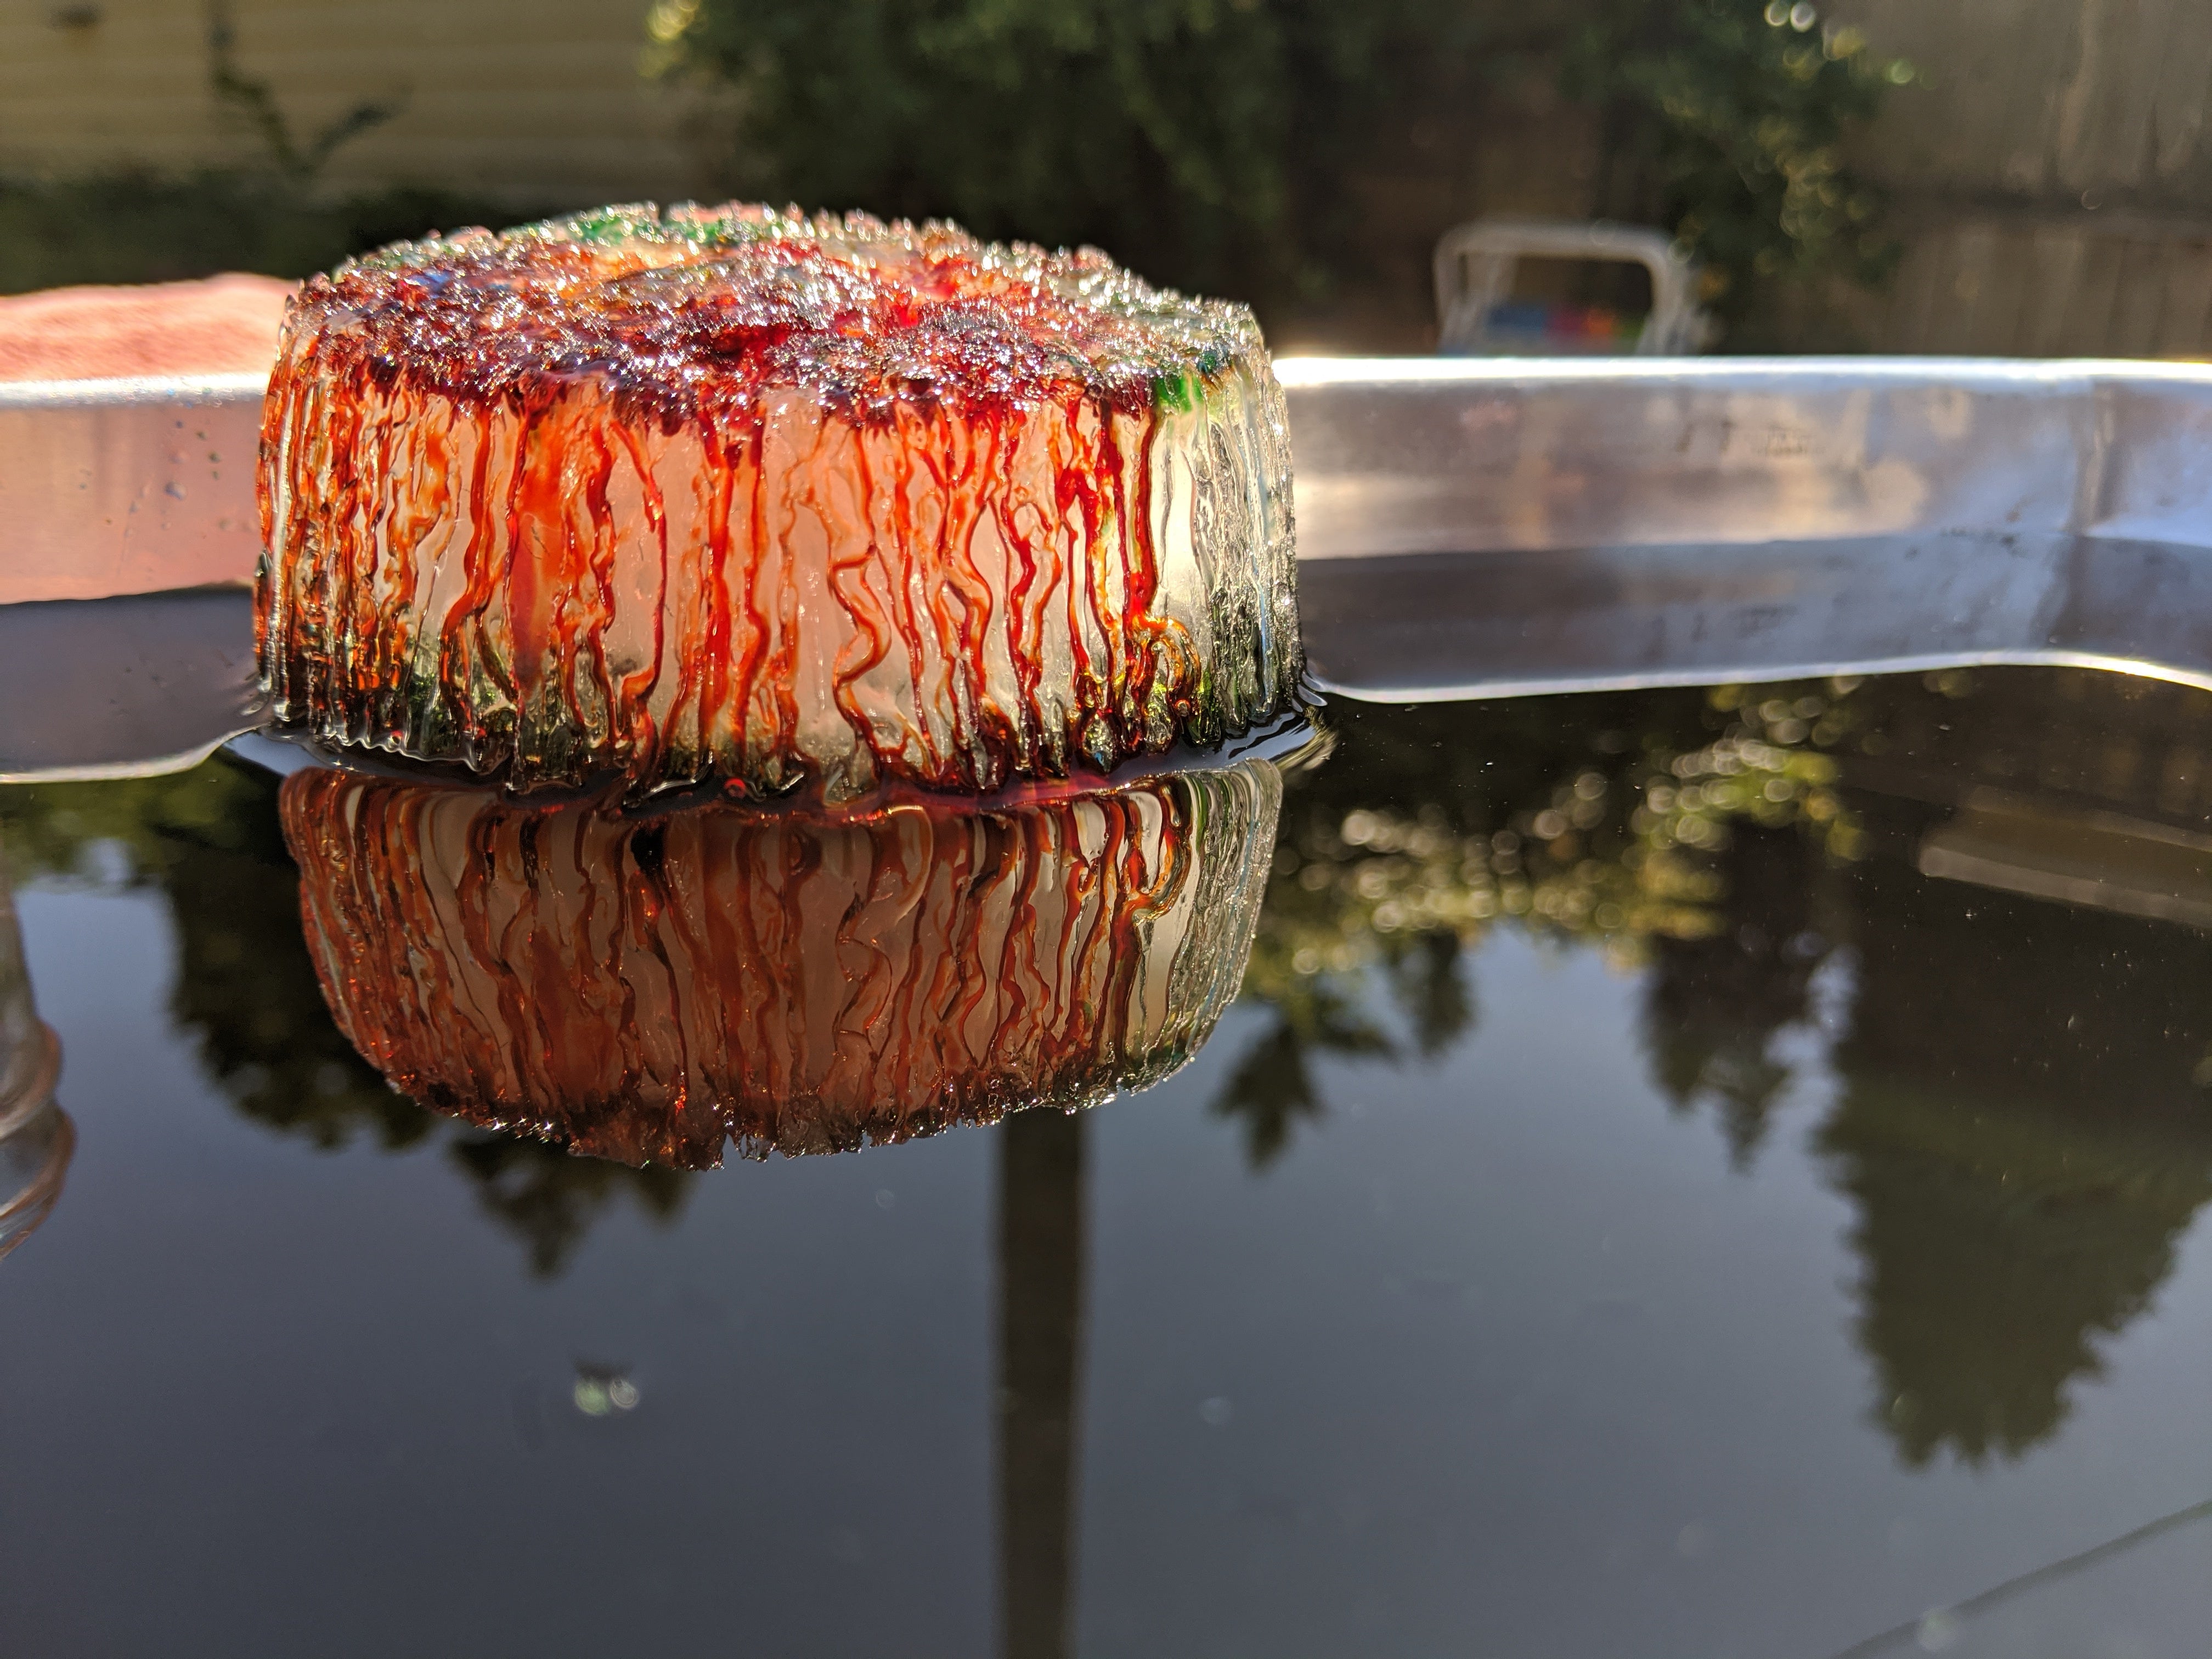
 Did you notice a difference between the pieces of ice with salt on them compared to the one without? You may have noticed that the salted ice had lots of pockets and little rivulets. Why do you think this happened?
To understand this effect, we need to talk about freezing point. The freezing point of a liquid is the temperature at which it freezes. The freezing point of water is 32 degrees Fahrenheit (or 0 degrees Celsius).
Salt has an amazing property - it actually lowers the freezing point of water. This means that with salt added, the temperature would have to be even lower than 32 degrees for water to freeze. In other words, with salt present, ice can start to melt at 32 degrees.
Where the salt touched your ice pieces, the water melted faster than the rest of the ice. The colored dye helped to highlight the parts of the ice that the salt caused to melt - pooling into the crevasses and holes left by the salt!
 If you live in a place where you get a lot snow and ice in the winter, you have likely seen the roads being 'salted'. Big trucks will spread salt on the roads to prevent water from freezing into ice. This helps prevent cars from slipping and sliding and make the roads safer!
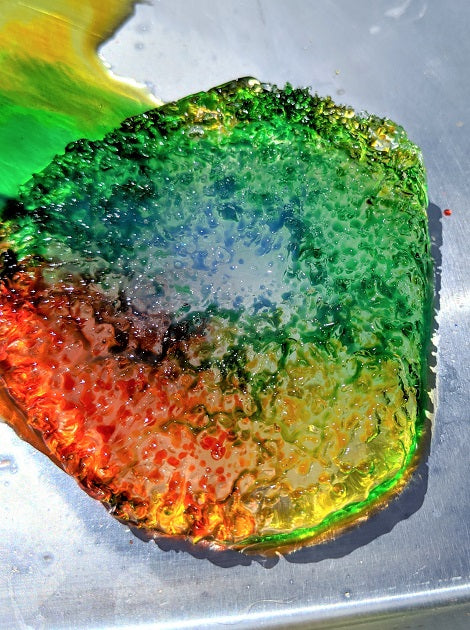
Does your ice chunk look like a relief map? Can you see the mountains and valleys and streams?
SHARE WITH US!
Let us know how your experiments turned out! Share your photos and results with us on Facebook, Twitter, Instagram, or send us an email to info@yellow-scope.com. We love getting your messages!
For more exciting experiments, check out our Yellow Scope science kits on the Shop tab of our website!


Chelsea Schuyler
Author